My way to home automation
In recent weeks, I have restarted my home automation project to get it to a point where everything is connected to a single control point.
I have looked at the current active open source projects that can offer me this single point of control, minimal maintenance and have a good framework of writing own plugins.
In my home today I have the following components that I would like to control or retrieve data from:
- Google Chromecast
- Google Home/Hub
- Kodi
- My home made Nexa devices using RPi
- ESP8266 with temperature/humidity and moisture sensors
- TP-Link power outlets and lights
- Plejd dimmers for LEDs via Bluetooth
- Östberg Heru S FTX system with a modbus interface
Based on the requirement I have and the different units I have installed in my home today the selection fell on Home Assistant and ESPHome.
Home Assistant and ESPHome can be easily set up as docking containers on a Raspberry PI or whatever server you have available in your home. I chose a Raspberry PI, for security reasons, rather to put it on my Xeon-based servers because Home Assistant needs a host network privilege feature enabled for Bluetooth support. Since I’m using nginx and virtual hosts it’s easy to redirect requests to my HA server.
Setting up Home Assistant and ESPHome
I’m a quite big fan of using docker-compose for setting up my docker containers.
My docker-compose.yaml file below contains two services, homeassistant and esphome which is the needed services for controlling and configure many devices in my home. For HA I map a local folder as a volume for easy modification and backup of my HA settings and for ESPHome I use a local folder called esphome which all settings and built images get stored.
version: '3'
services:
  homeassistant:
    container_name: home-assistant
    image: homeassistant/home-assistant:stable
    volumes:
      - ./config:/config
      - hamedia:/media
      - /dev/bus/usb:/dev/bus/usb
      - /var/run/dbus:/var/run/dbus
    environment:
      - TZ=Europe/Stockholm
    restart: always
    network_mode: host
  esphome:
    image: esphome/esphome:latest
    volumes:
      - ./esphome/:/config:rw
      - /etc/localtime:/etc/localtime:ro
    network_mode: host
    restart: always

volumes:
  hamedia:
    driver_opts:
      type: "cifs"
      device: //<samba server ip>/Public
      o: "username=guest"
I use restart: always for my docker services so they get restarted if my servers gets restarted unexpected, like power outages.
To start up the services just execute docker-compose up -d.
docker-compose support mounting volumes over NFS and CIFS (samba) which can be handy if you have e.g. a media archive on your network. The docker-compose.yaml above shows how to configure an CIFS mount using guest priviliges.
Setting up devices
Most of the devices I use in my home was detected during the first time installation of HA. That include all my Google devices, Kodi and TP-link.
ESPHome
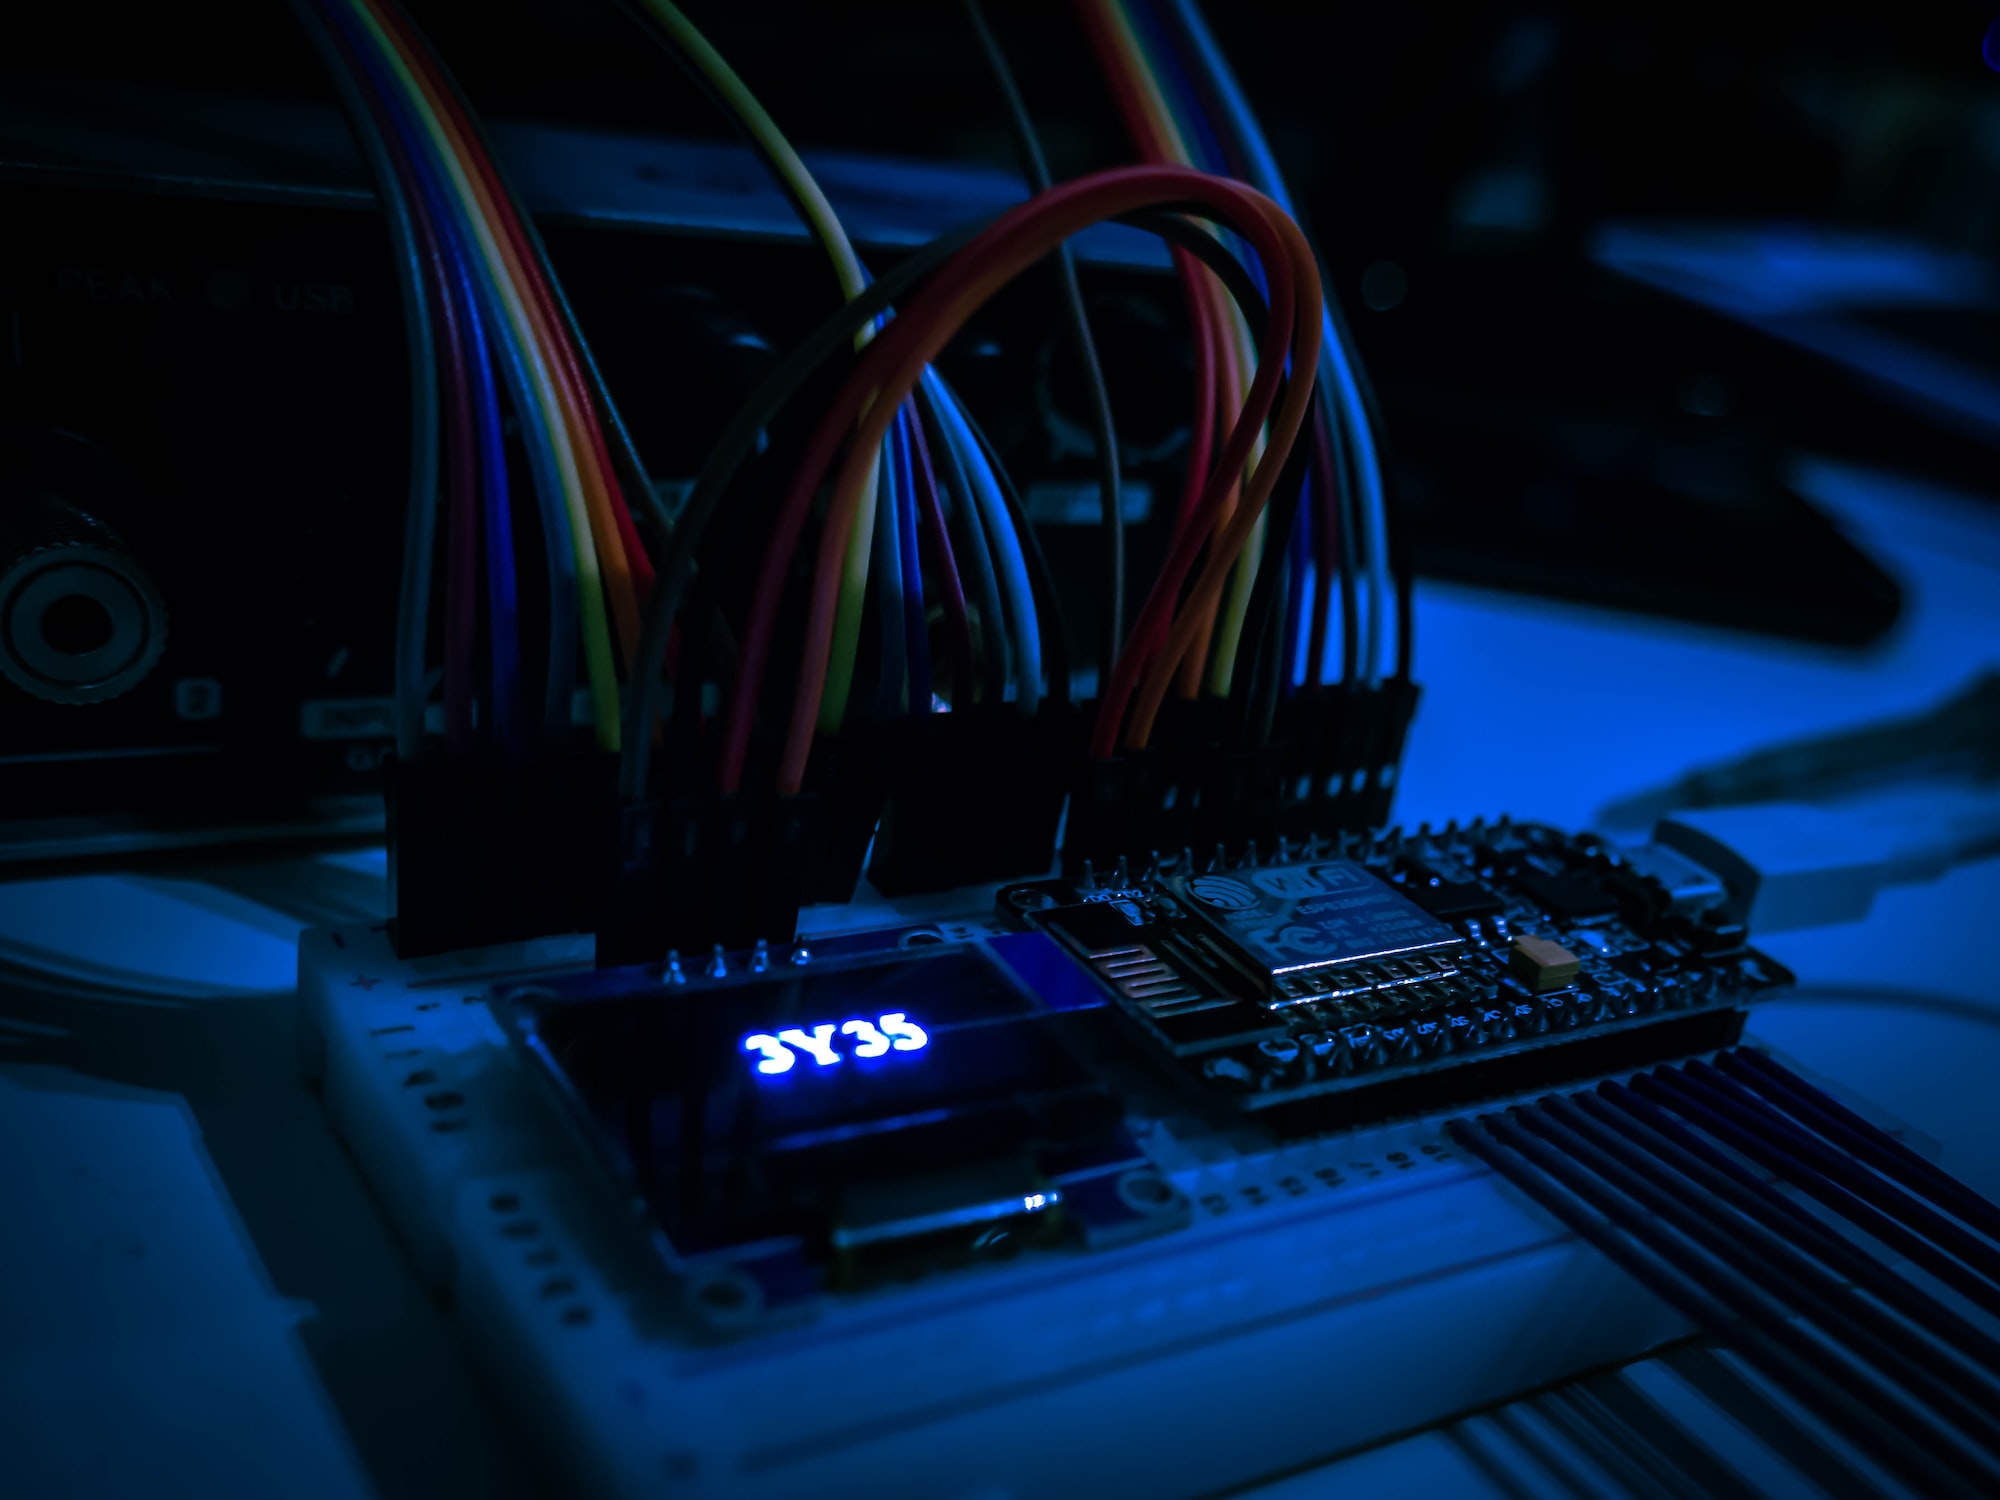
My ESPHome devices were detected automatically as soon as I installed the compiled ESPHome binary on the ESP8266 devices.
My ESP8266 devices (NodeMCU v3) is power by a Micro USB connector and jump wires to connect the DTH11 module.
Here is how my configuration file for my kitchen temperature and humidity sensor look like (for ESPHome):
esphome:
  name: kitchen
  platform: ESP8266
  board: nodemcuv2

wifi:
  ssid: "Your AP"
  password: "Your AP password"
  ap:
    ssid: "Kitchen Fallback Hotspot"
    password: "fallbackpassword"

captive_portal:

logger:

api:
  password: "apipassword"

ota:
  password: "otapassword"

switch:
  - platform: restart
    name: "Kitchen Device Restart"

sensor:
  - platform: dht
    pin: D2
    model: DHT11
    update_interval: 4s
    temperature:
      name: "Kitchen Room Temperature"
      filters:
        - offset: 0.3
        - sliding_window_moving_average:
            window_size: 15
            send_every: 15
            send_first_at: 15
    humidity:
      name: "Kitchen Room Humidity"
      filters:
        - offset: -2.5
        - sliding_window_moving_average:
            window_size: 15
            send_every: 15
            send_first_at: 15
The configuration above performs a measure every 4 second and do a sliding window moving average for 15 measure points which ends up with one transmit to HA server per minute.
I have included an offset per sensor, this offset was calculated by having three DTH11 sensors at the same location in the house during one hour so they got stabilized and then calculated a mean avarage of the three sensors and adjusted them with the offset parameter. It’s not perfect but it’s some kind of calibration between the sensors.
For the first time installation of the image I used ESPHome Flasher tool but updates to the devices was done using its OTA support from the ESPHome service, e.g. after updating the new offset values.
Nexa
The current system that I had for controlling my Nexa devices was a small service that download ical data from my Google calendar so I had to write a new service for being able to control it from Home Assistant. I could have choosen to implement an aRest interface (which is already available in HA) but I also wanted to learn how the plug-in framework works in so I made a simple XML-RPC service and wrote an LightEntity plug-in to Home Assistant. I will publish the code at a later time when I have cleaned up the code a bit.
The module was configured through the Home Assistant yaml configuration file.
light:
  - platform: pinexa
    hosts:
      - host.lan
The plug-in calls the RPI service to retrieve which light that are available and present them as entities in Home Assistant. At the time writing this I was not able to register the light as devices but I think the configuration need to be performed using UI configuration to get a unique device ID.
Plejd
The roof spotlights in my home are controlled using built-in Plejd dimmers that has Bluetooth communications. During my investigation on how these dimmers work I found a really good Home Assistant plug-in call ha-plejd which looked promesing.
I followed the guide from ha-plejd but I was not able to retreive the crypto key nor the device information but after some help from the author (and an additional script from him) I was able to retreive the needed crypto key and the device information to get the plug-in to work.
Östberg Heru S FTX
My ventilation system by Östberg can be controlled by Modbus, a simple serial port like interface from 1979 which is common used with PLC system for the industry.
Reading through the manual for the ventilation system I found out that there is an Ethernet interface on the control board and it was possible to enable Modbus over TCP/IP which made the Home Assistant integration at bit simpler.
One thing that made the whole integration with Östberg simple was that they have their register specification available on the Internet.
To configure Home Assistant to work with modbus over TCP/IP you need to add the following to your configuration.yaml:
modbus:
  name: hub1
  type: tcp
  host: <your ip address>
  port: 502
  timeout: 2
To setup the ventilation coils as switches to be able to control the coils, add the following to your configuration.yaml:
switch:
  platform: modbus
  scan_interval: 10
  coils:
    - name: Ventilation Overpressure
      hub: hub1
      slave: 1
      coil: 1
    - name: Ventilation Boost
      hub: hub1
      slave: 1
      coil: 2
    - name: Ventilation Away
      hub: hub1
      slave: 1
      coil: 3
To retrieve status information of the coils you need to add the following binary sensors to your configuration.yaml:
binary_sensor:
  - platform: modbus
    inputs:
    - name: Ventilation On
      hub: hub1
      slave: 1
      address: 0
      device_class: power
    - name: Ventilation Overpressure
      hub: hub1
      slave: 1
      address: 1
      device_class: plug
    - name: Ventilation Boost
      hub: hub1
      slave: 1
      address: 2
      device_class: plug
    - name: Ventilation Away
      hub: hub1
      slave: 1
      address: 3
      device_class: plug
The ventilation system has a number of temperature sensors that can be monitored by adding the following to your configuration.yaml:
sensor:
  - platform: modbus
    scan_interval: 60
    registers:
    - name: Ventilation Outdoors
      hub: hub1
      unit_of_measurement: °C
      slave: 1
      register: 1
      register_type: input
      count: 1
      scale: 1
      offset: 0
      precision: 0
    - name: Ventilation Supply air
      hub: hub1
      unit_of_measurement: °C
      slave: 1
      register: 2
      register_type: input
      count: 1
      scale: 1
      offset: 0
      precision: 0
    - name: Ventilation Exhaust air house
      hub: hub1
      unit_of_measurement: °C
      slave: 1
      register: 3
      register_type: input
      count: 1
      scale: 1
      offset: 0
      precision: 0
    - name: Ventilation Exhaust air out
      hub: hub1
      unit_of_measurement: °C
      slave: 1
      register: 4
      register_type: input
      count: 1
      scale: 1
      offset: 0
      precision: 0
    - name: Ventilation Rotor
      hub: hub1
      unit_of_measurement: °C
      slave: 1
      register: 6
      register_type: input
      count: 1
      scale: 1
      offset: 0
      precision: 0